I Learned How to Use a Fluke Multimeter
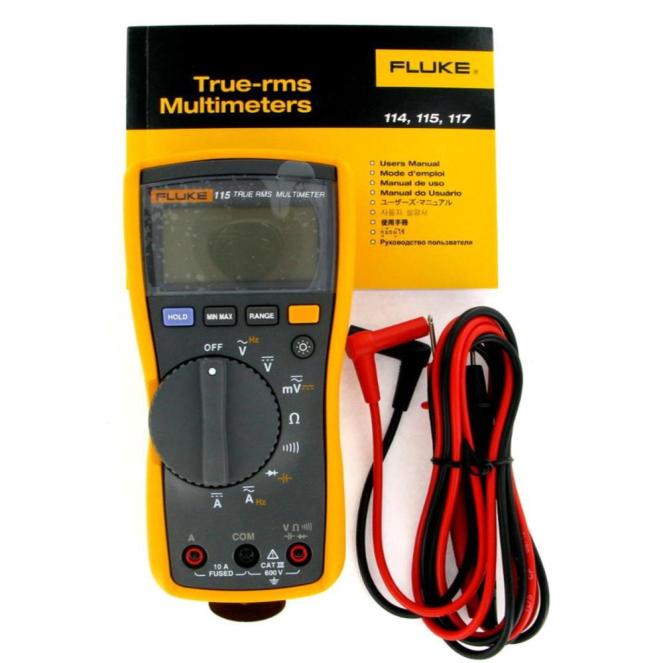
When I first got my meter, I was pretty much clueless as to its functionality. It’s actually not hard to learning to use a Fluke multimeter but it can take some time if you’ve never done used anything like it before. I really didn’t know what I was doing, other than the fact that I was having some electrical oddities around the house and thought the electrician’s quote was too high. Before I bought my meter I done quite a bit of research to discover what the best multimeter is (here: www.themultimeterguide.com) and quickly found out that Flukes are the top of the range.
First Things First, The Manual
Read the manual.
Let me repeat that for the visually impaired, read the manual front to back.
If you don’t know what you’re doing, then all of the symbols on the face of the meter are probably pretty much meaningless to you, and you’ll want to know what you can and can’t test with the meter that you’ve picked up.
For most of us, the important thing is to be able to measure voltage, amperage, and resistance. Knowing these three values will give you a pretty good idea of what’s going on, and you can test to see if the power coming in is wrong or if a part is burnt, or whatever you may need to know.
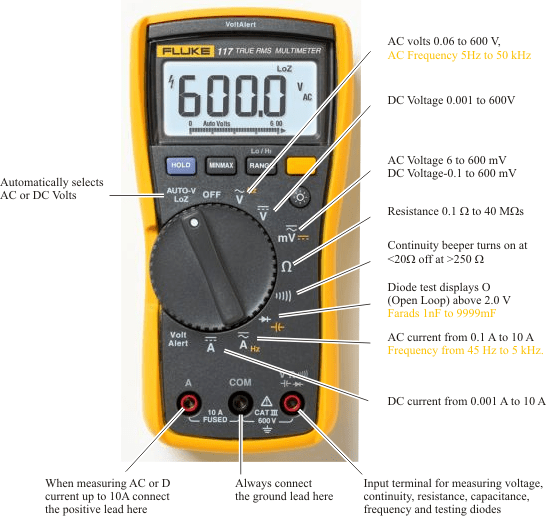
A Quick Breakdown
Pretty much any Fluke multimeter will have a dial on the front. Setting this dial will change the measurements you receive when you touch the probes down on the contact points.
Didn’t make sense?
The probes are the pointy things. “Contact points” are just where you stick the probes. You’ll either be measuring between two contact points or between a contact point and a ground. The ground can be pretty much anything that’s conductive and runs… well, to the ground. Essentially the electricity dead ends there.
Voltage
Voltage is important to know, if you dropped a leg somewhere along the line, for instance, the reading will be about half of normal. In the US “normal” will run between 110V-120V.
Voltage is generally the big V on the face plate of your Fluke. Just make sure the arrow is pointing there and find your contact points.
Amperage
I purchased a Fluke with a clamp in order to measure the amperage of lines. These simple tools mean you can forgo contact points and instead just place the clamp around the line for a no contact reading.
Otherwise, you’ll want to just make sure that you’re on your contact points and the meter is somewhere easy to read.
Amperage will be a big A on your Fluke. There’ll likely be a few different options, so read the manual to know which one you need.
Resistance
Resistance is mostly used to make sure that a part isn’t burnt. If current doesn’t pass through the part or passes freely, you’re in trouble. Many models of Fluke will make a “beep” when a part is good, you just need to see how the current flows through the circuit.
Ohms, the unit for measurement of resistance, are indicated on your Fluke with a Ω symbol.
Conclusion
As long as you learn how to use your Fluke multimeter correctly, you’ll be in good hands. Always read the manual and the above guidelines should get you started on being able to use the Fluke to figure out almost anything you’ll need to know when it comes to the electrical systems in your home. Good luck!
